Blog
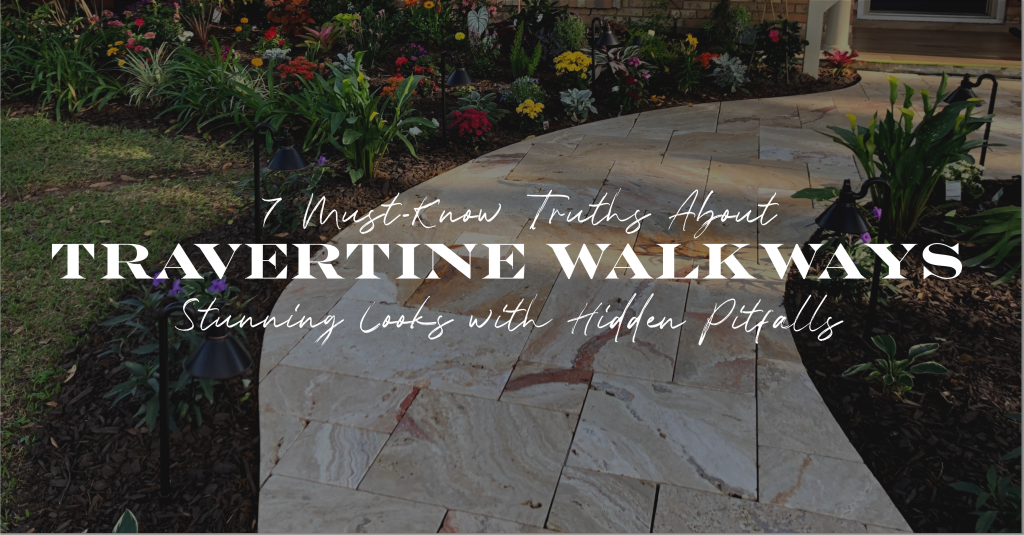
7 Crucial Steps to Tile a Wall with Travertine Floor Tiles (and Avoid Costly Mistakes)
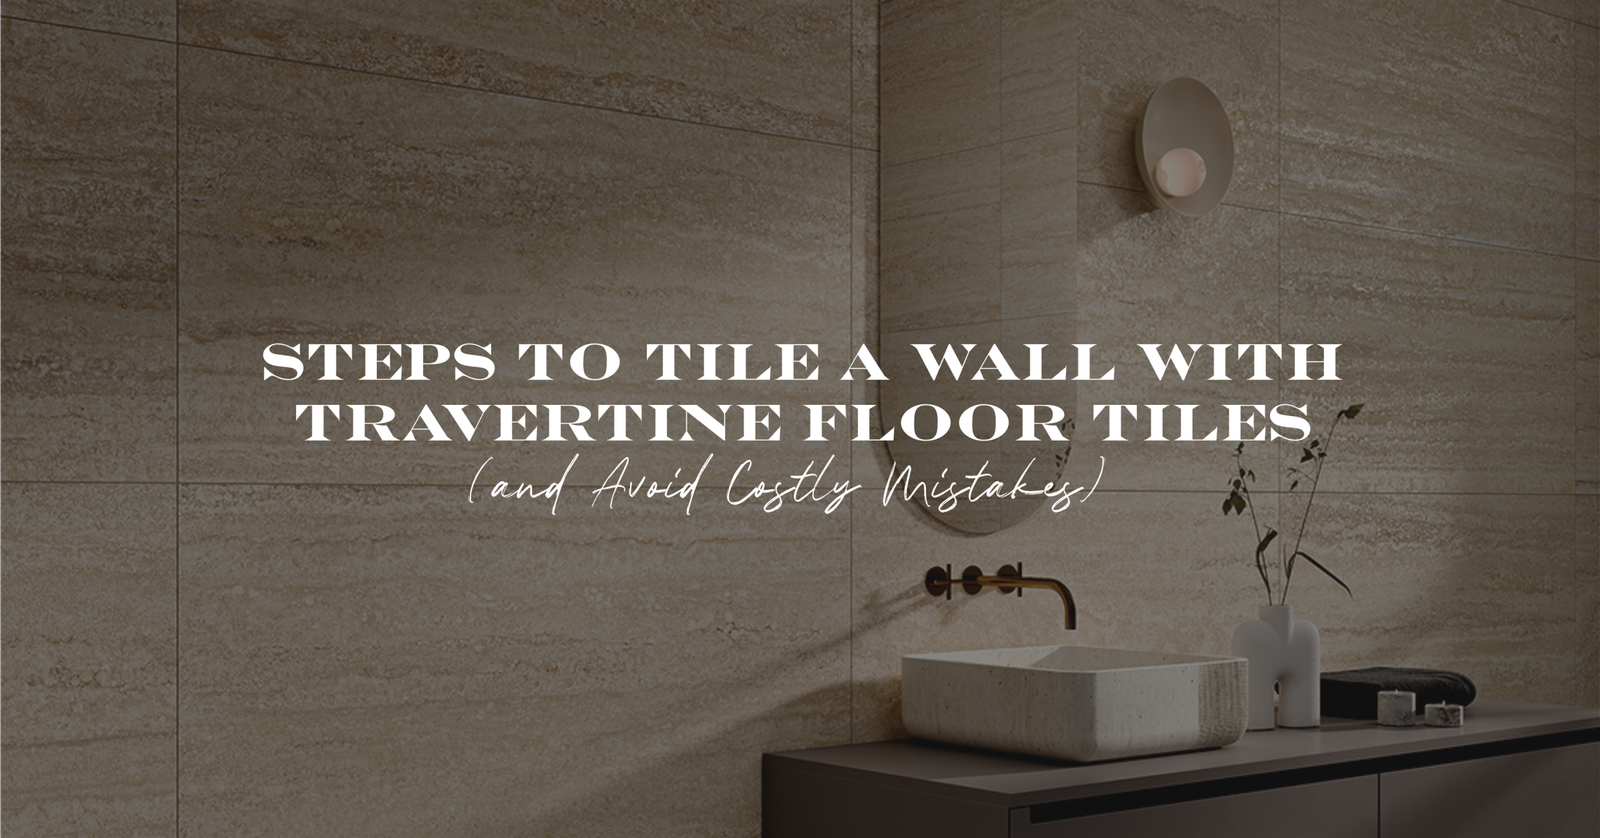
Installing tiles on a wall may seem intimidating at first—but with the right preparation, tools, and materials, it’s a home improvement project that can dramatically transform any space. While wall tiling is often associated with ceramic or porcelain options, many homeowners and designers are now turning to travertine floor tiles as a bold and elegant alternative for vertical surfaces. Traditionally used underfoot, the travertine floor is gaining traction for its ability to bring warmth, texture, and natural beauty to walls as well.
Whether you’re updating a bathroom, creating a dramatic kitchen backsplash, or designing a living room feature wall, using travertine floor tiles vertically offers a seamless and sophisticated look that enhances the overall flow of your interior design. The combination of natural stone character and timeless appeal makes travertine floor tiles a versatile and increasingly popular choice for those looking to blend rustic charm with modern elegance.
In this blog, we’ll walk you through the 7 crucial steps to tile a wall with travertine floor tiles, so you can get the stunning look you want—and avoid costly mistakes.
Table of Contents
1. Why Travertine Floor Tiles Are Perfect for Walls
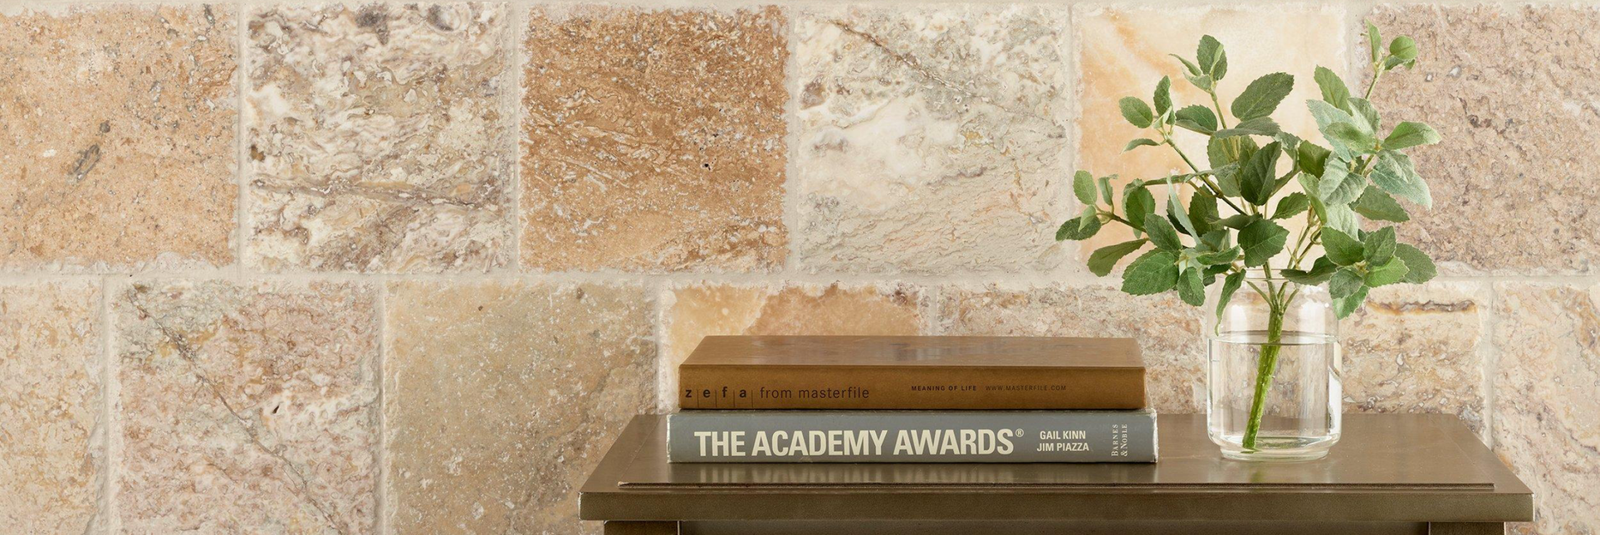
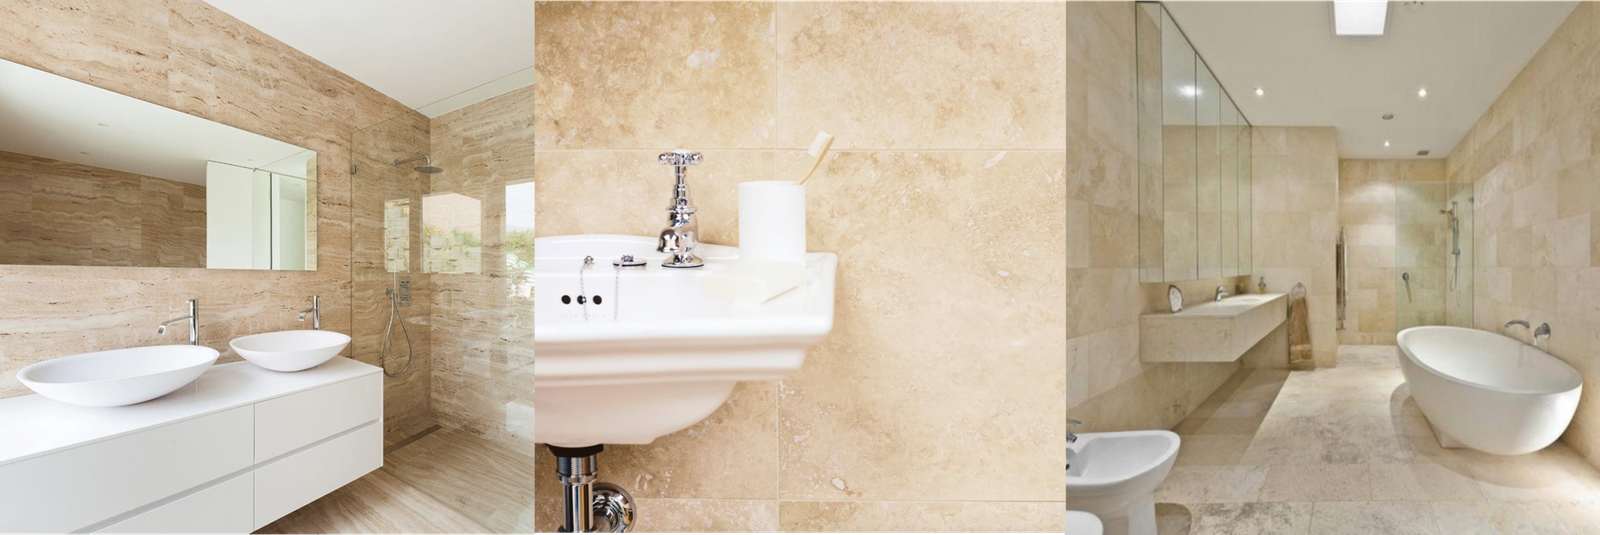
The travertine floor has long been celebrated in high-end flooring design for its unmatched natural beauty, remarkable durability, and timeless elegance. Traditionally favored for its earthy tones and unique textures, the travertine floor has brought warmth and sophistication to countless homes and commercial spaces. Recently, designers and homeowners alike have begun embracing an exciting new trend—extending the use of travertine floor tiles vertically onto walls.
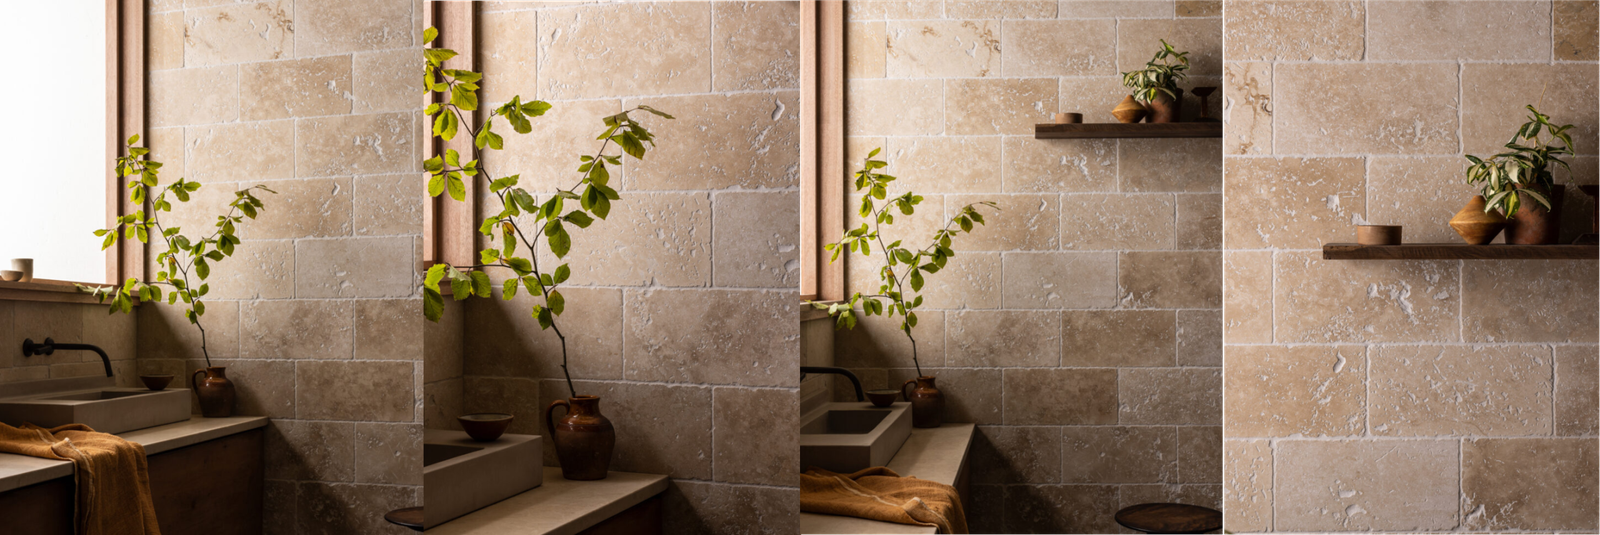
This innovative approach opens up endless possibilities for creating cohesive, upscale interiors that feel thoughtfully connected from floor to ceiling. By incorporating travertine floor tiles on walls, you create a seamless transition that enhances the room’s visual flow and adds depth, dimension, and a natural organic feel. Whether you’re aiming for a spa-like bathroom retreat, a stylish modern kitchen backsplash, or a cozy living room accent wall, the use of travertine floor tiles brings warmth, rustic charm, and undeniable character.
Beyond aesthetics, these tiles are also known for their natural strength and resistance to wear, making them a practical and lasting choice for both decorative and functional wall applications. This blend of beauty and durability is why the travertine floor continues to be a top choice for those seeking to elevate their interiors with classic yet contemporary style..
2. Prep the Wall Like a Pro
Before you even think about applying your travertine floor tiles to the wall, it’s absolutely crucial to prepare the surface properly. Installing travertine floor tiles—especially on vertical applications—requires a stable, clean, and well-prepared foundation to ensure long-term durability and aesthetic quality. Regardless of whether your wall is made of drywall, plaster, or cement board, it must be thoroughly inspected and brought to the proper condition.
Start by ensuring the surface is completely dry, as moisture can weaken the adhesive bond and compromise the tile installation. The wall should also be dust-free, smooth, and free of cracks or structural damage. Any holes or imperfections must be patched and leveled before proceeding. Additionally, remove all remnants of previous wall coverings, such as wallpaper, flaking paint, or old adhesive, as these can interfere with the bond between the wall and the travertine floor tiles.
If your home is older and you’ve recently removed paint, be sure to test for lead—an important safety step that should never be overlooked. Taking the time to properly prepare the wall is essential not just for appearance, but for ensuring your travertine floor tiles remain secure and beautiful for years to come:
- Dry and dust-free
- Smooth and crack-free
- Stripped of any paint, wallpaper, or previous tile adhesive
If old paint was removed, test for lead, especially in older homes. Don’t skip this step—it’s essential for safety and successful adhesion.
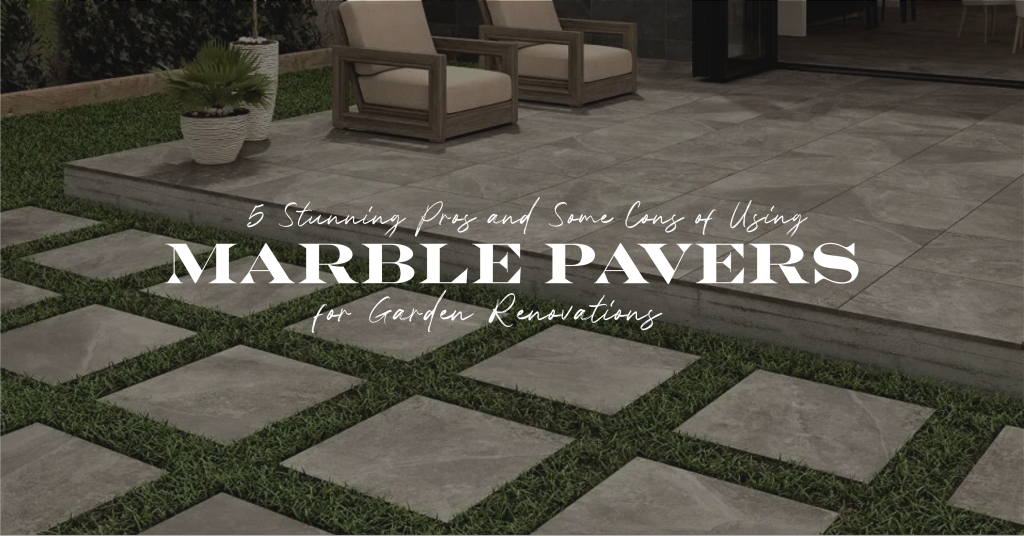
3. Plan Your Travertine Floor Layout on the Wall
Just as you would when installing a travertine floor, it’s essential to plan your layout before applying any tiles to the wall. Begin by laying out your travertine floor tiles on a flat surface to experiment with patterns, alignment, and spacing. This step not only helps you choose a layout that complements your space, but it also allows you to identify any color variations between tiles—something that’s common with natural stone like travertine floor materials.
By arranging your tiles in advance, you can avoid awkward cuts around edges, outlets, or corners and ensure a symmetrical, balanced appearance once the tiles are mounted on the wall. Taking this extra time to map out your design results in a more polished, professional finish and gives you a clear visual of how your travertine floor tiles will transform the space vertically.
A good layout minimizes awkward cuts and helps you visualize how the finished wall will look.
4. Mark the Wall for Alignment
After thoroughly preparing your wall for tile installation, the next crucial step in your project is to accurately measure and mark the layout to ensure your travertine floor tiles are placed with precision and balance. Start by carefully measuring the full height and width of the wall to pinpoint the exact center point both horizontally and vertically. Using a reliable level, draw a vertical center line from ceiling to floor and a horizontal center line across the width of the wall.
These lines serve as essential guides to maintain perfect alignment and symmetry throughout the entire travertine floor tile installation process. Keeping your tiles aligned along these centerlines helps prevent uneven gaps, crooked rows, or awkward cuts, all of which can detract from the natural beauty of your travertine floor tiles. Once you have these guide lines in place, the next important step is to securely attach a sturdy, level 1” x 2” support board just below where the first row of travertine floor tiles will begin.
This temporary support acts as a ledge to hold the weight of the tiles and prevent them from slipping downward while the adhesive cures and sets properly. Because travertine floor tiles are typically much heavier and denser than ceramic or porcelain tiles, this additional support is especially critical when working on vertical surfaces to maintain a clean and professional installation. Taking the time to measure carefully, mark precise centerlines, and add a support board ensures a polished and flawless finish that highlights the natural elegance of your travertine floor tiles and transforms your interior space with a cohesive and sophisticated look.
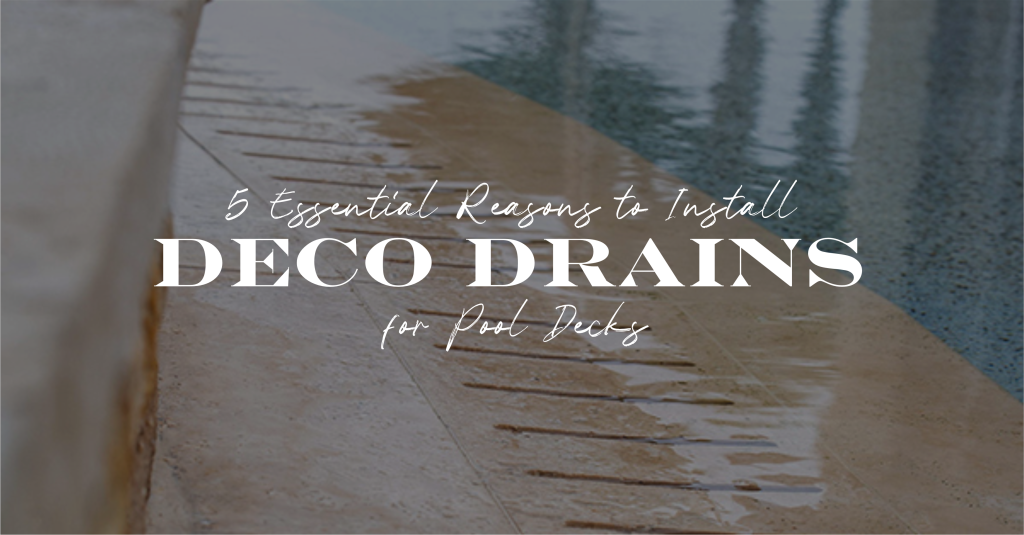
5. Apply the Right Mortar
Choosing the correct adhesive is absolutely critical when working with travertine floor tiles, especially for wall installations where the weight and porosity of the stone present unique challenges. Unlike lighter tile materials such as ceramic or porcelain, travertine floor tiles are heavier and more porous, meaning they require a high-quality bonding agent that can firmly secure them in place for the long term. For the best results, professionals recommend using a white thin-set mortar specifically formulated for natural stone.
Darker mortars should be avoided because their pigments can bleed through the porous surface of the travertine floor tiles, causing unsightly discoloration that detracts from the stone’s natural beauty. The consistency of your mortar mix is equally important — it should be thick but spreadable, with a peanut butter-like texture to provide optimal adhesion without being too runny or dry.
When applying the mortar, use a notched trowel to spread it evenly over small sections of the wall, working from the bottom upward. This method helps maintain control and prevents the mortar from drying out before you can properly set your travertine floor tiles. To further strengthen the bond and reduce the risk of future tile slippage or hollow spots, it’s essential to apply a thin layer of mortar to the back of each tile before pressing it into place.
This technique, known as back-buttering, ensures full contact between the travertine floor tile and the wall surface, which is especially critical when working vertically against gravity. Properly back-buttering your travertine floor tiles enhances adhesion, reduces the risk of uneven surfaces, and ultimately contributes to a durable, flawless wall installation that will stand the test of time.
6. Install Tiles Carefully and Evenly
Travertine is a beautifully unique natural stone that offers rich, earthy tones and distinctive patterns, making it a popular choice for both floors and walls. However, because travertine is porous and relatively heavy compared to other tile materials, it requires extra care and attention during installation. Each travertine floor tile should be handled gently to prevent any chips, cracks, or other damage that can compromise the stone’s natural beauty and durability.
When installing travertine floor tiles on a vertical surface like a wall, patience is key. Take your time to carefully position each tile in its exact place, ensuring it fits perfectly within your planned layout. Using tile spacers between the tiles is essential, as these maintain consistent and uniform grout lines that contribute to a professional, polished appearance. Proper grout spacing also allows for slight movement caused by temperature changes and natural stone expansion, helping to avoid future cracking or loosening of tiles.
When pressing each travertine floor tile firmly into the mortar on the wall, it’s crucial to ensure a strong bond without causing the tile to slip or slide. Because travertine tiles are heavier than ceramic or porcelain, this step requires extra caution and sometimes additional support, such as a ledger board. Frequently check your progress using a level or laser level to verify that each tile is straight, evenly spaced, and perfectly aligned. Small, timely adjustments during this stage prevent uneven rows and misalignments that can be very noticeable once the installation is complete. Skipping this careful attention to detail can lead to costly rework or a finished wall that looks uneven and unprofessional.
Ultimately, the key to a flawless travertine floor tile wall is a combination of patience, precision, and the right techniques. By handling each tile with care, maintaining proper spacing with tile spacers, and continually verifying alignment, you’ll create a durable, stunning surface that highlights the natural elegance of travertine floor tiles. This careful approach ensures that your wall installation not only looks amazing but also stands the test of time, adding lasting value and beauty to your home.
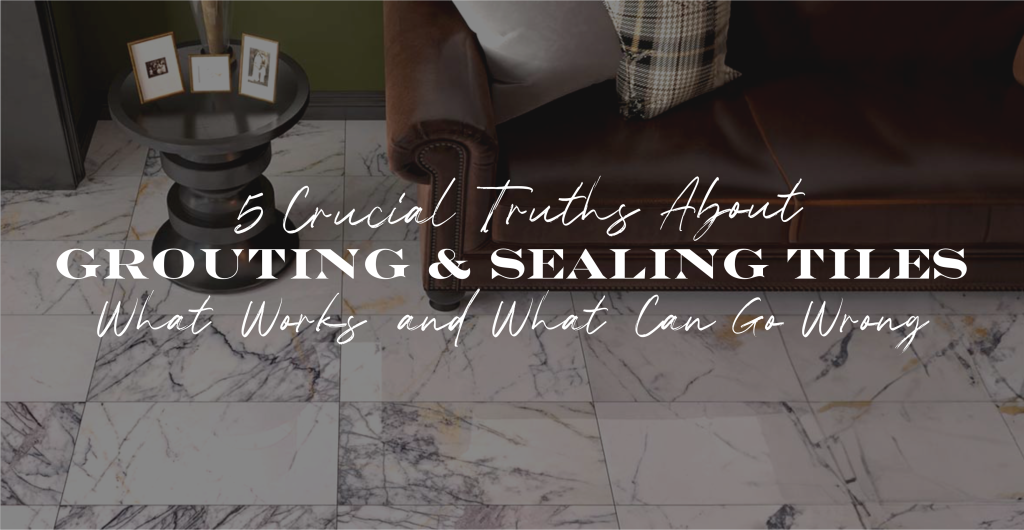
7. Seal and Grout for Long-Lasting Results
After your travertine floor tiles are fully installed and the mortar has completely cured, the next essential step is to protect your beautiful stone investment by applying a high-quality stone sealer. Sealing your travertine floor tiles not only enriches their natural colors and highlights the unique textures that make travertine so sought-after, but it also creates a vital protective barrier against moisture, stains, dirt, and mildew. This step is particularly important in areas prone to high humidity and frequent water exposure, such as bathrooms, kitchens, and laundry rooms. Without proper sealing, the porous nature of travertine floor tiles can absorb liquids, leading to discoloration, staining, and potential long-term damage.
Be sure to follow the manufacturer’s instructions carefully when applying the sealer, allowing ample drying time to ensure maximum effectiveness. Once your travertine floor tile surface is sealed and dry, you can move on to the grouting phase. Selecting a grout color that harmonizes with your travertine tiles will enhance the overall aesthetic, creating a seamless and cohesive look.
Take care to fill the joints between each tile evenly and thoroughly to lock the tiles in place and prevent dirt accumulation. Immediately after grouting, use a damp sponge or cloth to wipe off any excess grout from the surface of your travertine floor tiles before it hardens, as grout residue can be difficult to remove once set and may dull the natural sheen of your stone.
Proper sealing and grouting not only elevate the appearance of your travertine floor tile installation but also extend its longevity by protecting against everyday wear and tear. By investing time and care in these finishing steps, you’ll ensure your travertine floor tiles maintain their stunning beauty and durability for many years, making your tiled wall a lasting centerpiece of your home’s design.
Final Thoughts
Using travertine floor tiles on a wall is an elegant and timeless way to elevate your interior design, adding natural beauty and sophistication to any space. However, to achieve results that last and maintain their stunning appearance, it’s essential to follow every step of the installation process carefully. From thorough wall preparation to precise tile layout, accurate adhesive application, and final sealing, each detail plays a crucial role in the success of your travertine floor tile wall.
Taking the time to properly install and care for your travertine floor tiles will ensure your investment pays off with a durable, beautiful finish that enhances your home for years to come. Now that you know these 7 crucial steps, you’re ready to bring the classic charm of travertine floor tiles to your vertical spaces—without the headache of common mistakes.
Drop by our showroom to see our stunning collection:
Tampa, FL , St Petersburg, FL , Orlando, FL , Naples, FL , Sarasota, FL, Fort Myers, FL , Jacksonville, FL , Houston, TX and Savannah, GA