Blog
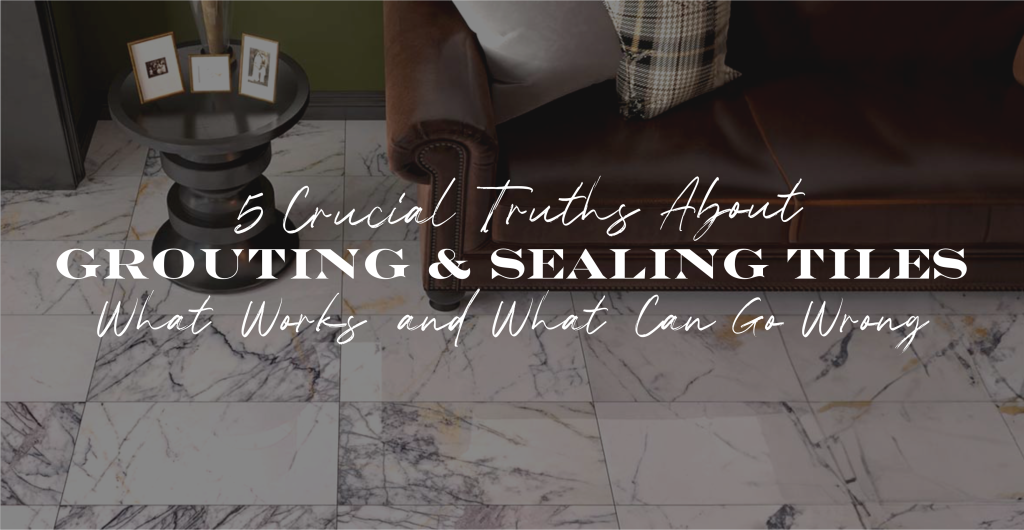
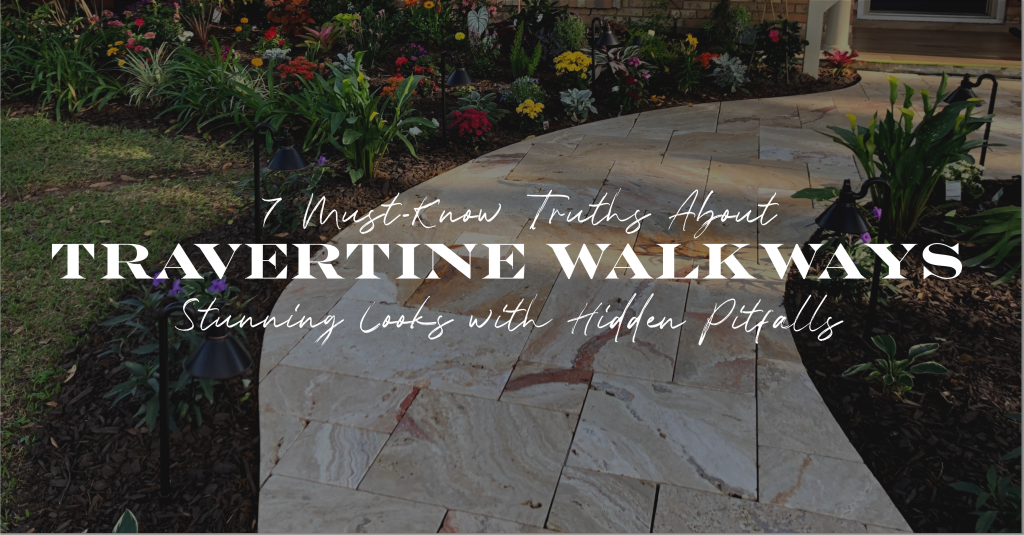
7 Crucial Grouting & Sealing Tips That Will Make or Break Your Travertine Tile Installation
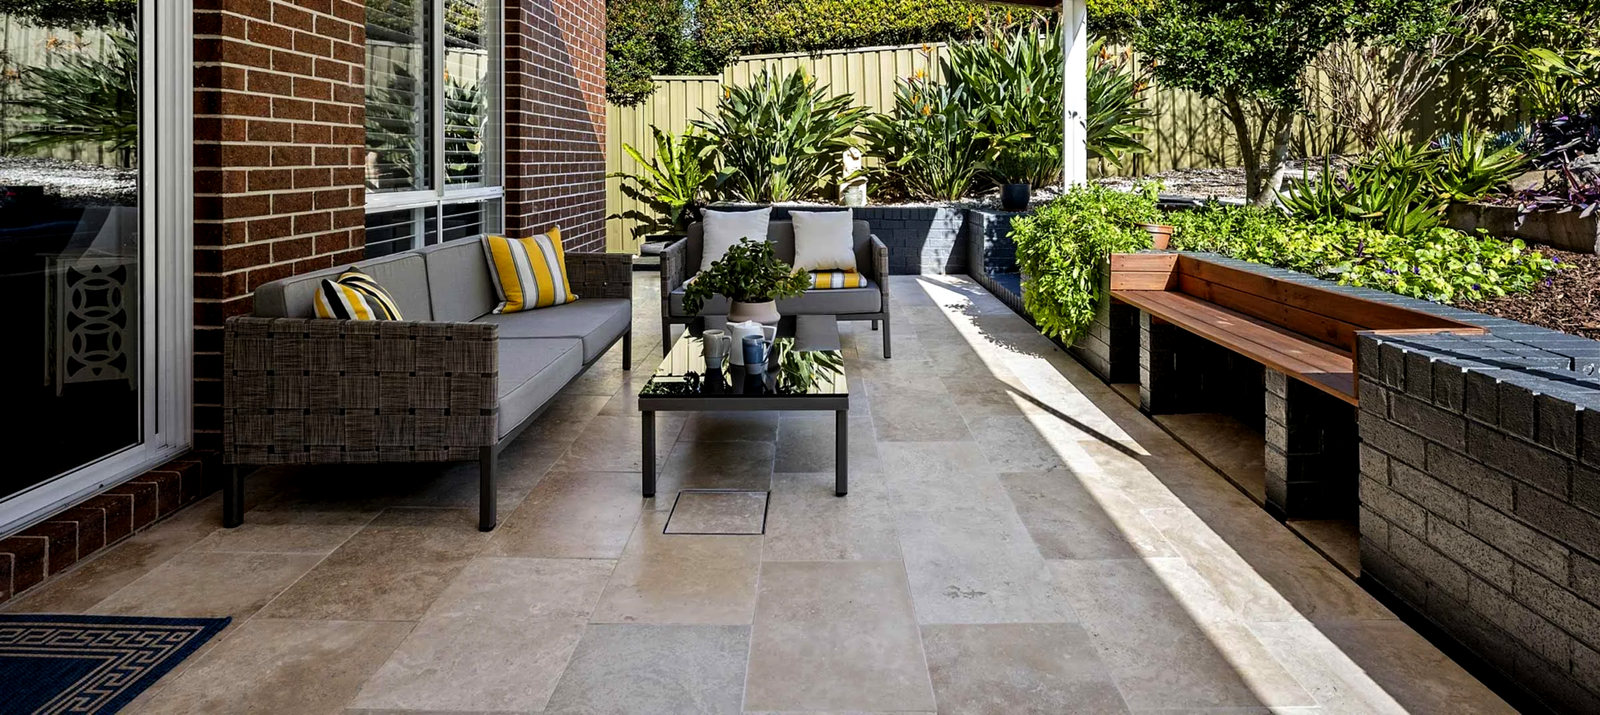
If you’re in the process of choosing materials for a home renovation or new construction, travertine tile installation is likely to appear as one of the top contenders. Renowned for its durability, natural elegance, and timeless appeal, travertine is a go-to option for homeowners, designers, and builders alike. Whether you’re working on an indoor living area, a bathroom remodel, or an outdoor patio or pool deck, travertine tiles offer a refined and organic look that elevates virtually any space.
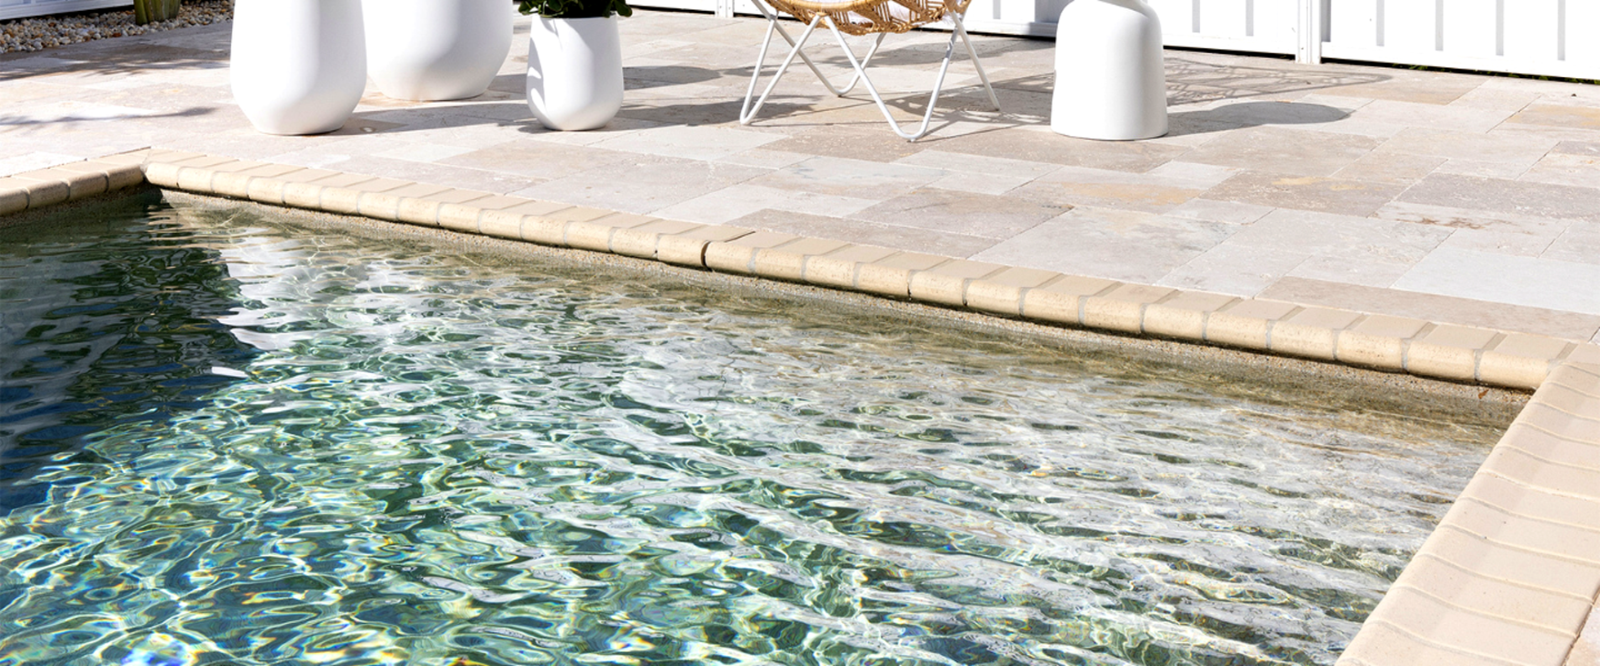
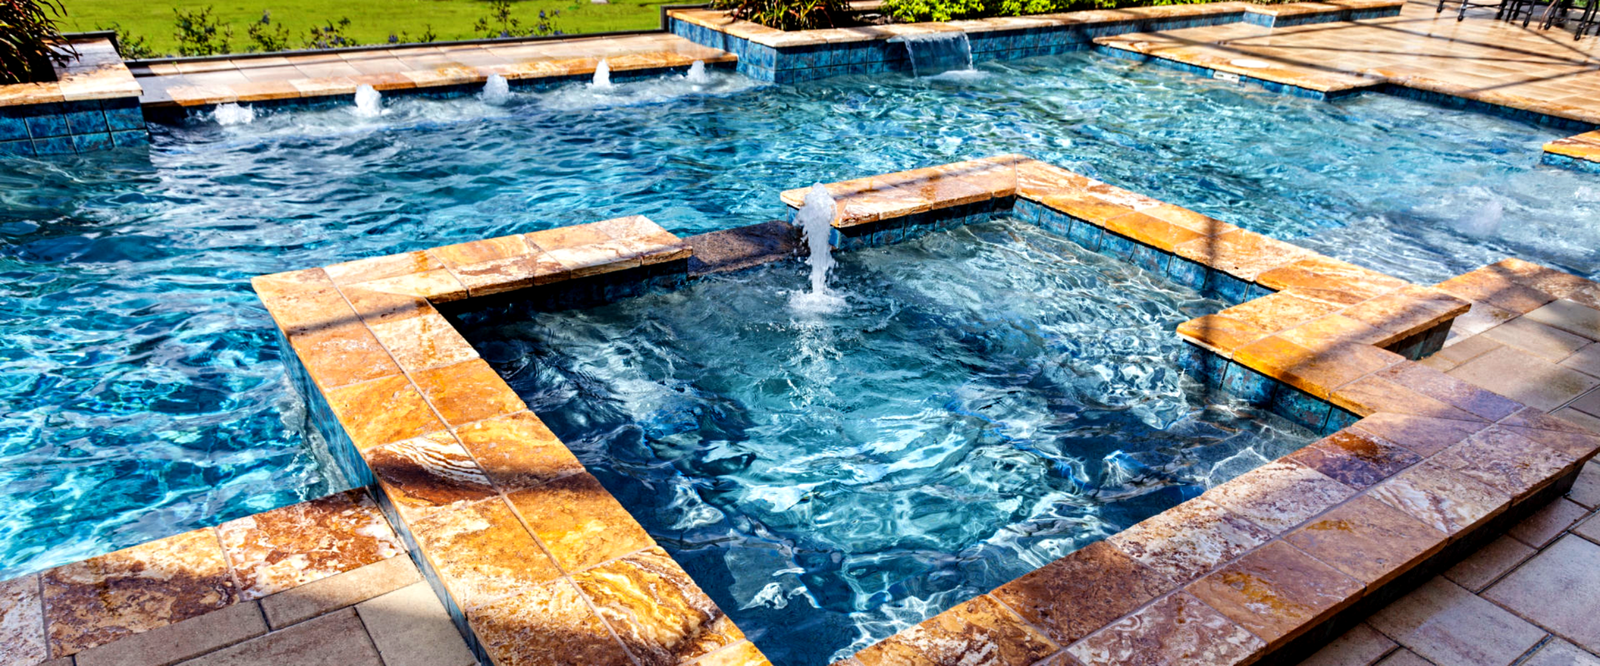
One of the standout features of travertine is its distinct veining and earthy color palette—ranging from warm creams and golds to rich rusts and greys. These natural variations allow for creative, one-of-a-kind flooring designs that bring texture and warmth to any environment. In addition to standard floor tiles, travertine is also widely used for travertine pool coping, which comes in various styles such as standard bull-nosed, thick, or remodel coping profiles. These options make it easier to match your aesthetic goals while also meeting functional needs around pools, steps, or edges.
However, selecting beautiful tiles is only half the equation. To protect your investment and ensure that your installation stands the test of time, proper grouting and sealing are absolutely essential. These two steps not only affect how the finished surface looks, but also how it performs over the years. When done correctly, grouting and sealing enhance the stone’s natural color, prevent water penetration, and help resist stains and damage from wear and tear. But if neglected or poorly executed, they can lead to major problems—such as tile shifting, mold growth, discoloration, or even structural damage caused by trapped moisture.
In short, grouting and sealing are not optional—they’re foundational to a successful travertine tile installation. Understanding how and when to apply these protective measures will help preserve the beauty, strength, and integrity of your surfaces for years to come.
Table of Contents
Here are 7 critical factors to consider
1. Start With a Clean Slate
Before beginning any travertine tile installation, it’s crucial to start with a clean, smooth, and properly prepared surface. This step lays the foundation for a successful travertine tile installation and ensures that your tiles adhere securely and evenly. Start by thoroughly removing all dirt, dust, debris, or remnants of previous flooring materials, including old adhesives or grout. Even small particles can interfere with the bonding process and cause tiles to shift or lift over time.
If you’re working on varnished, painted, or glossy surfaces, take extra care by roughening them up with coarse sandpaper. This simple but important action creates texture that improves the bond between the mastic or thinset mortar and the substrate. A roughened surface allows the adhesive to grip more effectively, preventing future loosening or slippage of the tiles during your travertine tile installation.
Moisture is another critical factor to consider. Travertine, being a porous natural stone, is sensitive to the presence of water during installation. Make sure that both the substrate and the tiles are completely dry before proceeding. Trapped moisture can lead to issues like efflorescence, poor adhesion, or even long-term structural problems beneath the tile surface.
In short, taking the time to properly clean, dry, and prepare your installation surface will help prevent costly problems later on and set the stage for a smooth, professional-looking travertine tile installation.
2. Practice the Layout First
Before permanently installing your travertine tiles, it’s highly recommended to pre-lay—or “dry lay”—the tiles across the intended surface area. This step involves arranging the tiles without adhesive to experiment with various layout patterns and ensure visual consistency. While it might seem like an optional or purely aesthetic exercise, it plays a crucial role in the final outcome of your travertine tile installation project.
Travertine is a natural stone, which means no two tiles are exactly alike. There will be subtle differences in tone, veining, and texture from one tile or coping to another. These variations are part of what makes travertine so beautiful and unique—but if not carefully considered, they can result in an uneven or visually jarring final appearance.
By pre-laying the tiles, you can:
- Mix and match pieces to create a more uniform or intentionally varied look.
- Identify standout tiles with unique patterns that you may want to highlight in focal areas.
- Visualize your grout lines and spacing, which helps avoid surprises during the actual installation.
- Ensure that cut tiles or smaller pieces end up in less visible areas, such as corners or under cabinetry.
This is especially important when working with travertine pool coping, as the alignment and flow of color between the coping and surrounding tiles can affect the overall visual harmony. Taking the time to dry lay your tiles gives you the control to balance tones, manage transitions, and avoid clustering too many dark or light tiles together.
Ultimately, this planning phase saves time, reduces material waste, and results in a more polished, professional-looking travertine tile installation. A well-executed dry layout is an investment that pays dividends in the beauty and durability of your finished project.

3. Use White Thinset for Lighter Stones
Travertine tile installation, selecting the right adhesive is more important than many realize. Travertine is a highly porous natural stone, which means it can easily absorb the color of the materials it’s installed with—especially the thinset (or mortar) used to secure it in place.
For this reason, using a white thinset is strongly recommended, particularly when working with light-colored or beige travertine tiles and pool coping. Dark gray or colored adhesives can bleed through the pores of the stone, causing unwanted discoloration or blotchy areas that are often impossible to correct after installation. Even subtle changes in shade can affect the natural elegance of the finished surface, compromising the aesthetic goals of your travertine tile installation.
A white thinset acts as a neutral base, helping maintain the tile’s original color while ensuring strong adhesion. This is especially important for installations in well-lit areas or outdoor spaces, where any change in tone may be more noticeable. Using the proper thinset enhances both the durability and the beauty of your travertine tile installation.
When mixing thinset, consistency matters just as much as color. Aim for a texture similar to peanut butter—smooth, pliable, and easy to spread without being too watery or stiff. A proper mix ensures:
- Better bonding with the substrate and tile
- Easier tile adjustment during placement
- Reduced risk of uneven drying or weak spots
Take your time with this step. Mix in small batches, follow the manufacturer’s instructions, and use a clean container to avoid contamination that could affect color or texture.
By choosing a white thinset and mixing it correctly, you’ll preserve the natural beauty and integrity of your travertine tiles, resulting in a cleaner, brighter, and more consistent finish for your travertine tile installation.
4. Mind the Grout Gaps
One of the most overlooked—but absolutely critical—factors in any travertine tile installation is proper grout spacing. The space between each tile or coping may seem like a minor detail, but it plays a major role in both aesthetics and long-term performance.
For natural stone like travertine, the typical grout joint width ranges from 1/4” to 3/8”, depending on the size of the tiles and their intended use. Larger or thicker tiles, especially travertine pool coping, may require wider joints to accommodate slight size variances and ensure a level, uniform surface throughout your travertine tile installation.
Using tile spacers is highly recommended to maintain consistent grout lines across the entire layout. These small, inexpensive tools help guarantee even spacing during installation, which not only improves the overall appearance but also:
- Prevents tile shifting as the adhesive sets
- Allows room for thermal expansion and contraction
- Makes grouting easier and more effective
If you’re installing honed or polished travertine, you might consider a tight layout with minimal joints. These finishes typically have more precise edges, allowing for closer installation that creates a smooth, continuous look. However, this requires a perfectly level substrate and expert technique to avoid lippage (where one tile edge sits higher than another).
On the flip side, chiseled-edge or tumbled travertine often looks better with wider grout lines that embrace the rustic, natural character of the stone.
Remember: improper spacing can lead to cracking, uneven surfaces, or moisture seeping between the tiles. Taking the time to get grout spacing right the first time is essential for a durable, visually cohesive travertine tile installation that stands the test of time.
5. Don’t Skip Spacers
When it comes to installing travertine tiles and coping, every small detail contributes to the quality and longevity of the finished product—and one of the most important tools you can use is the humble tile spacer. While they may seem like a minor part of the process, spacers play a critical role in achieving precision and uniformity throughout your entire installation.
Tile spacers are designed to maintain even grout joints between each tile, which not only enhances the overall appearance but also ensures structural integrity as the adhesive cures. Inconsistencies in spacing can cause tiles to shift or settle unevenly during the drying process, resulting in misaligned joints, lippage, or weak spots in the grout lines.
Benefits of using spacers during travertine tile installation include:
- Consistent spacing for a clean, professional finish
- Improved strength and support across the tiled surface
- Faster, easier grouting, since uniform gaps are easier to fill
- Better water resistance, as even joints help seal moisture out more effectively
For large format travertine tiles or irregularly shaped coping, using spacers is especially important to account for natural variation and to maintain alignment. Just make sure to select the appropriate spacer size based on the recommended 1/4” to 3/8” grout joints for natural stone.
Once the tiles are set and the adhesive has had time to partially cure, spacers can be carefully removed before grouting. This step ensures that your final grout lines remain neat, even, and durable.
Remember: in any tile project, precision is the difference between amateur and exceptional. Tile spacers are your best friend when it comes to achieving that level of precision.
6. Seal Strategically
Sealing is one of the most critical—yet often overlooked—steps in a successful travertine tile installation. More than just a cosmetic finish, sealing plays a fundamental role in preserving the long-term integrity, color, and performance of the stone. Whether you’re tiling a bathroom, kitchen, outdoor patio, or pool area, applying the right sealer at the right time can be the difference between a surface that stays beautiful for years and one that quickly shows signs of wear and damage.
Travertine, like many natural stones, is porous by nature. This means it readily absorbs moisture, oils, and other substances that can cause permanent staining, discoloration, or degradation over time. Without a protective barrier, even something as routine as mopping or heavy foot traffic can introduce moisture into the stone, accelerating wear and undermining your entire travertine tile installation.
Yet despite how crucial sealing is, there’s no single, universally agreed-upon approach to timing. Professional tile installers often differ in their preferred methods, which can be confusing for homeowners or DIYers.
Some experts strongly advocate sealing before installation—particularly when working with light-colored travertine, honed or tumbled finishes, or in moisture-prone environments. Pre-sealing forms a protective shield that prevents the thinset or grout from soaking into the stone, which can lead to unwanted shadowing or blotchy areas that are nearly impossible to reverse after installation.
Others prefer to seal the tiles after installation but before grouting, arguing that this timing not only protects the stone from staining but also helps with grout cleanup. It keeps excess grout from clinging to the surface, reduces haze, and allows for easier polishing once the grouting is complete.
There’s also a third approach: sealing after grouting, which offers comprehensive protection to both the tiles and the grout joints. This method is especially useful in high-traffic areas or places exposed to heavy moisture, like showers and outdoor spaces. In some cases, professionals may even recommend a combination—sealing before and after grouting—to ensure the highest level of protection and aesthetic clarity.
No matter which timeline you follow, one fact remains: choosing the right type of sealer is essential for a high-quality, long-lasting travertine tile installation.In short, sealing at the right time with the right product is one of the most important steps in protecting your travertine tile and coping—don’t skip it, and don’t settle for subpar materials.
7. Choose the Right Sealer
To protecting your travertine tile and coping, the quality of the sealer you choose can make—or break—your entire installation. While sealing is a crucial step in any travertine tile installation, not just any sealer will do. Selecting the wrong type can lead to a host of problems, including discoloration, trapped moisture, surface peeling, or a finish that looks artificial and detracts from the stone’s natural beauty.
To get the best results, choose a sealer specifically formulated for natural stone surfaces like travertine. These specialized products are designed to penetrate deep into the stone’s pores, offering long-lasting protection against water, oils, grime, and common household stains—without altering the stone’s appearance or feel.
Here are the essential features to look for:
- Breathability: Travertine is a porous material, so it needs to “breathe.” A good sealer allows moisture vapor to escape from within the stone while still repelling surface water and contaminants. This helps prevent common issues like efflorescence, mildew, flaking, and internal cracking—especially in areas with high humidity or outdoor exposure.
- Natural, non-glossy finish: In most cases, you’ll want a penetrating (impregnating) sealer that preserves the stone’s original color and texture. These types of sealers soak into the travertine and protect from within, without leaving behind a glossy or “plastic” film. The result is a matte, slip-resistant surface that enhances the natural veining and character of the stone.
- UV and weather resistance: For outdoor areas such as patios, walkways, driveways, or travertine pool coping, make sure the sealer is rated for exterior use. It should offer resistance to harsh sunlight, rain, snow, and freeze-thaw cycles. A UV-stable formula helps prevent fading, chalking, or surface deterioration caused by long-term exposure to the elements.
- Ease of maintenance and reapplication: Even the highest-quality sealer will gradually wear down over time, especially in high-traffic zones or constantly wet environments. That’s why it’s important to select a product that’s easy to reapply without extensive prep work. Some modern sealers allow for top-up applications without stripping the old layer, making routine maintenance simple and cost-effective.
Ultimately, investing in a high-quality natural stone sealer protects not just the beauty but also the performance and longevity of your travertine tile installation. By choosing the right product and applying it at the correct stage of the process, you’ll enjoy surfaces that look stunning and stand strong against wear, moisture, and time.sealer not only enhances the beauty of your travertine—it also provides the essential protection needed to preserve its strength, color, and texture for the long haul.
Final Thoughts
A successful travertine tile installation is about far more than just laying down stone—it’s a meticulous process that blends technical know-how with design sensitivity. Every step, from preparation to sealing, plays a vital role in ensuring that your travertine tiles or travertine pool coping not only look beautiful on day one, but also stand the test of time.
Grouting and sealing are not mere finishing touches—they are critical safeguards for the integrity of your installation. Done properly, they protect against moisture, staining, shifting, and discoloration, all while enhancing the natural elegance that makes travertine such a popular choice for both indoor and outdoor applications.
By following these seven expert tips, you can avoid common mistakes that lead to costly repairs and premature wear. Surface preparation ensures a stable foundation. Dry laying helps you plan a harmonious layout. Choosing a white thinset prevents color distortion. Precise spacing ensures structural integrity. And selecting the right natural stone sealerpreserves the look and strength of your travertine for years to come.
Whether you’re tackling the project as a DIY installer or partnering with a professional, remember: travertine rewards precision, patience, and preparation. Every tile you lay is part of a bigger picture—a timeless surface that adds value, warmth, and style to your space.
When in doubt, consult with your tile supplier or a certified installer to tailor the installation to your climate, location, and use case. The extra effort up front will pay off in a stunning result that combines luxury, resilience, and lasting beauty.
Done right, your travertine project won’t just look amazing—it’ll stand the test of time.
Drop by our showroom to see our stunning collection:
Tampa, FL , St Petersburg, FL , Orlando, FL , Naples, FL , Sarasota, FL, Fort Myers, FL , Jacksonville, FL , Houston, TX and Savannah, GA